 |
| Two two-piece razors: Merkur 37C slant (left) and Wilkinson Sword Classic (right). Both top caps are shown in the proper orientation for blade insertion, although a cloth on the counter between it and the top cap will prevent marring a chrome finish. |
Many shavers use UTO-design razors, but never learned to properly insert a blade. First, a bit about the razor design:
 |
| Above: An inexpensive three-piece razor shown with baseplate clearly a separate piece from the handle. |
A three-piece DE razor has a top cap, a separate baseplate, and a separate handle. When assembled, the threaded rod on the top cap screws into the threaded handle, and these two sandwich the baseplate in between.
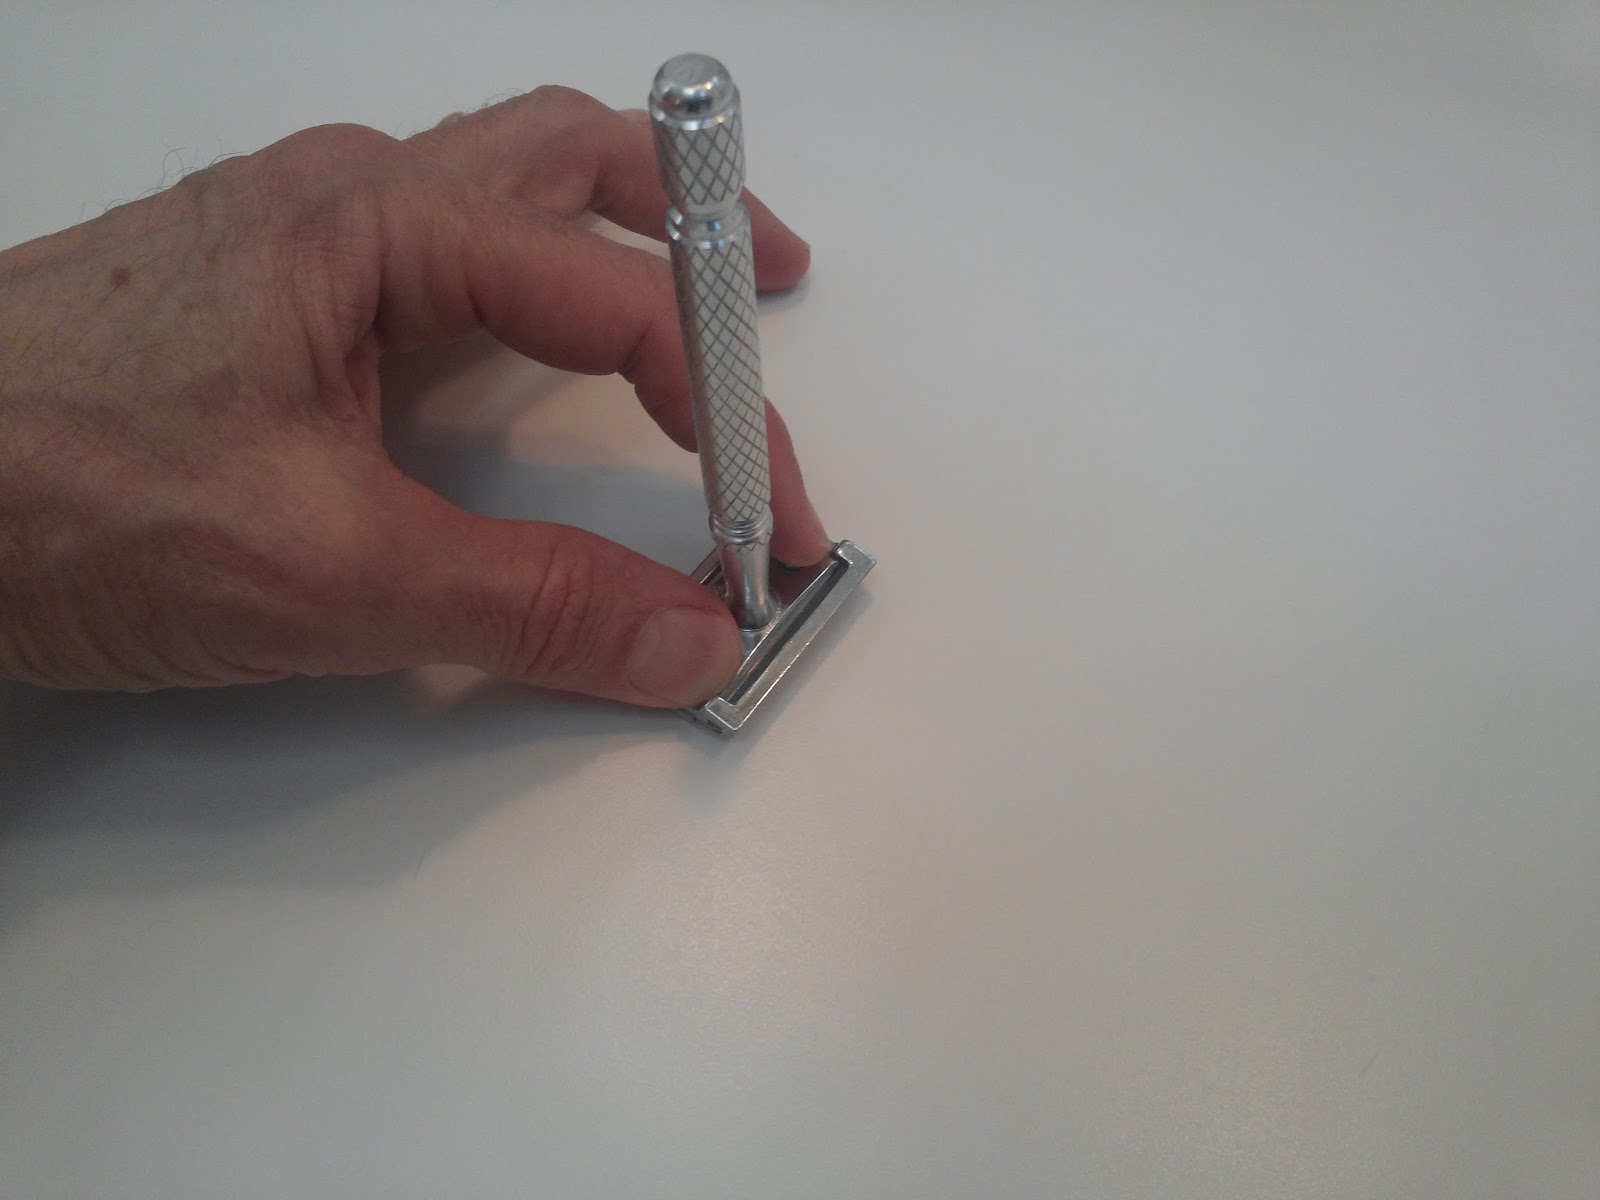 |
| Press the baseplate firmly down against the top cap while tightening the handle. Do put a cushioning cloth (not shown) between the counter and the top cap to prevent damaging the finish on the metal. |
- Put a towel or wash cloth on a counter. This is to prevent marring the finish of the metal top cap over time.
- Put the razor's top cap on the cloth, with threaded rod pointing up.
- Put the blade over the threaded rod and allow it to settle into the top cap. This is a key step, which allows the blade to initially self center as much as possible into the underside (which is now up) of the top cap.
- Put the baseplate and handle over the threaded rod of the top cap, but don't screw it tight yet.
- With the razor still upside down (handle up) on the counter, with your fingers press the baseplate down onto the blade and top cap. This is also a key step, which tends to maintain the blade in its self-centered position and not allow it to shift.
- Tighten the handle to lock the blade in position within the razor head.
- Verify even blade reveal by looking straight down on the top cap.
 |
| Verify even blade reveal by looking straight down at the top cap of the assembled razor. |
Now you're ready to shave with your UTO razor. Make it a good one.
Happy shaving!
One frustrating thing I hate about the packaging of some blades are wax dots. These are placed on the blade to help with packaging. My fear is, if they are not removed they could cause the blade to slightly bend or not be firmly seated because the wax takes up space between the blade and razor. I try to remove as much as I can with my thumbnail before inserting the blade.
ReplyDeleteIt may help in wrapping the blade, but it sure makes a sticky mess of your razor if not removed.